How To Make Snow Skin Mooncake - 冰皮月餅 | Chocolate Lava Snow Skin Mooncake
Popular Chinese pastry eaten as a delicacy during mid-autumn festival. soft, chewy crust with a chocolate bean paste filling and chocolate lava in the middle.

Snow Skin Mooncake - 冰皮月餅 | Chocolate Lava Snow Skin Mooncake
Mid-Autumn Festival 2021 (September 21)
The mid autumn festival is fast approaching. That means it is time for mooncakes again! Last year the snow skin mooncake recipe was popular, so for this year I will teach you how to make snow skin mooncake with lava filling inside!
What Is Snow Skin Mooncake 冰皮月餅
If you’ve never heard of snow skin mooncakes you might be wondering: What is a snow skin mooncake? Snow Skin Mooncake 冰皮月餅 is also known as snowy mooncake, ice skin mooncake or crystal mooncake. It is a non baked mooncake and popular in the asian countries. Snowskin mooncakes have a soft, chewy outside with a sweet or savory filling. You can compare the snow skin mooncake with a mochi.
How To Make Lava Snow Skin Mooncake
This year for the mid autumn festival we will learn how to make chocolate lava snow skin mooncakes. We will make chocolate flavored mooncake skin with chocolate bean paste filling and chocolate lava in the middle. The chocolate lava will ooze out when you bite into it! (ノ◕ヮ◕)ノ*:・゚✧
Check out this post for the snowskin mooncake chocolate filling recipe, how to make snow skin mooncake dough and the snow skin mooncake lava filling.
This version of Mooncake doesn’t need to be baked like the traditional Mooncakes.
If you want to make traditional Mooncakes with me, check out this link ➡️ https://youtu.be/W_psMdVOIA0
Or watch last years snow skin mooncake recipe with step by step instructions ➡️ https://youtu.be/GDHGED1mfjE
If you’re more of a savory person, come back next week and I will show you a savory version!
Scroll down to check out the ingredients needed for the Chocolate Lava Snow Skin Mooncake with step by step instructions!
(づ。◕‿‿◕。)づ


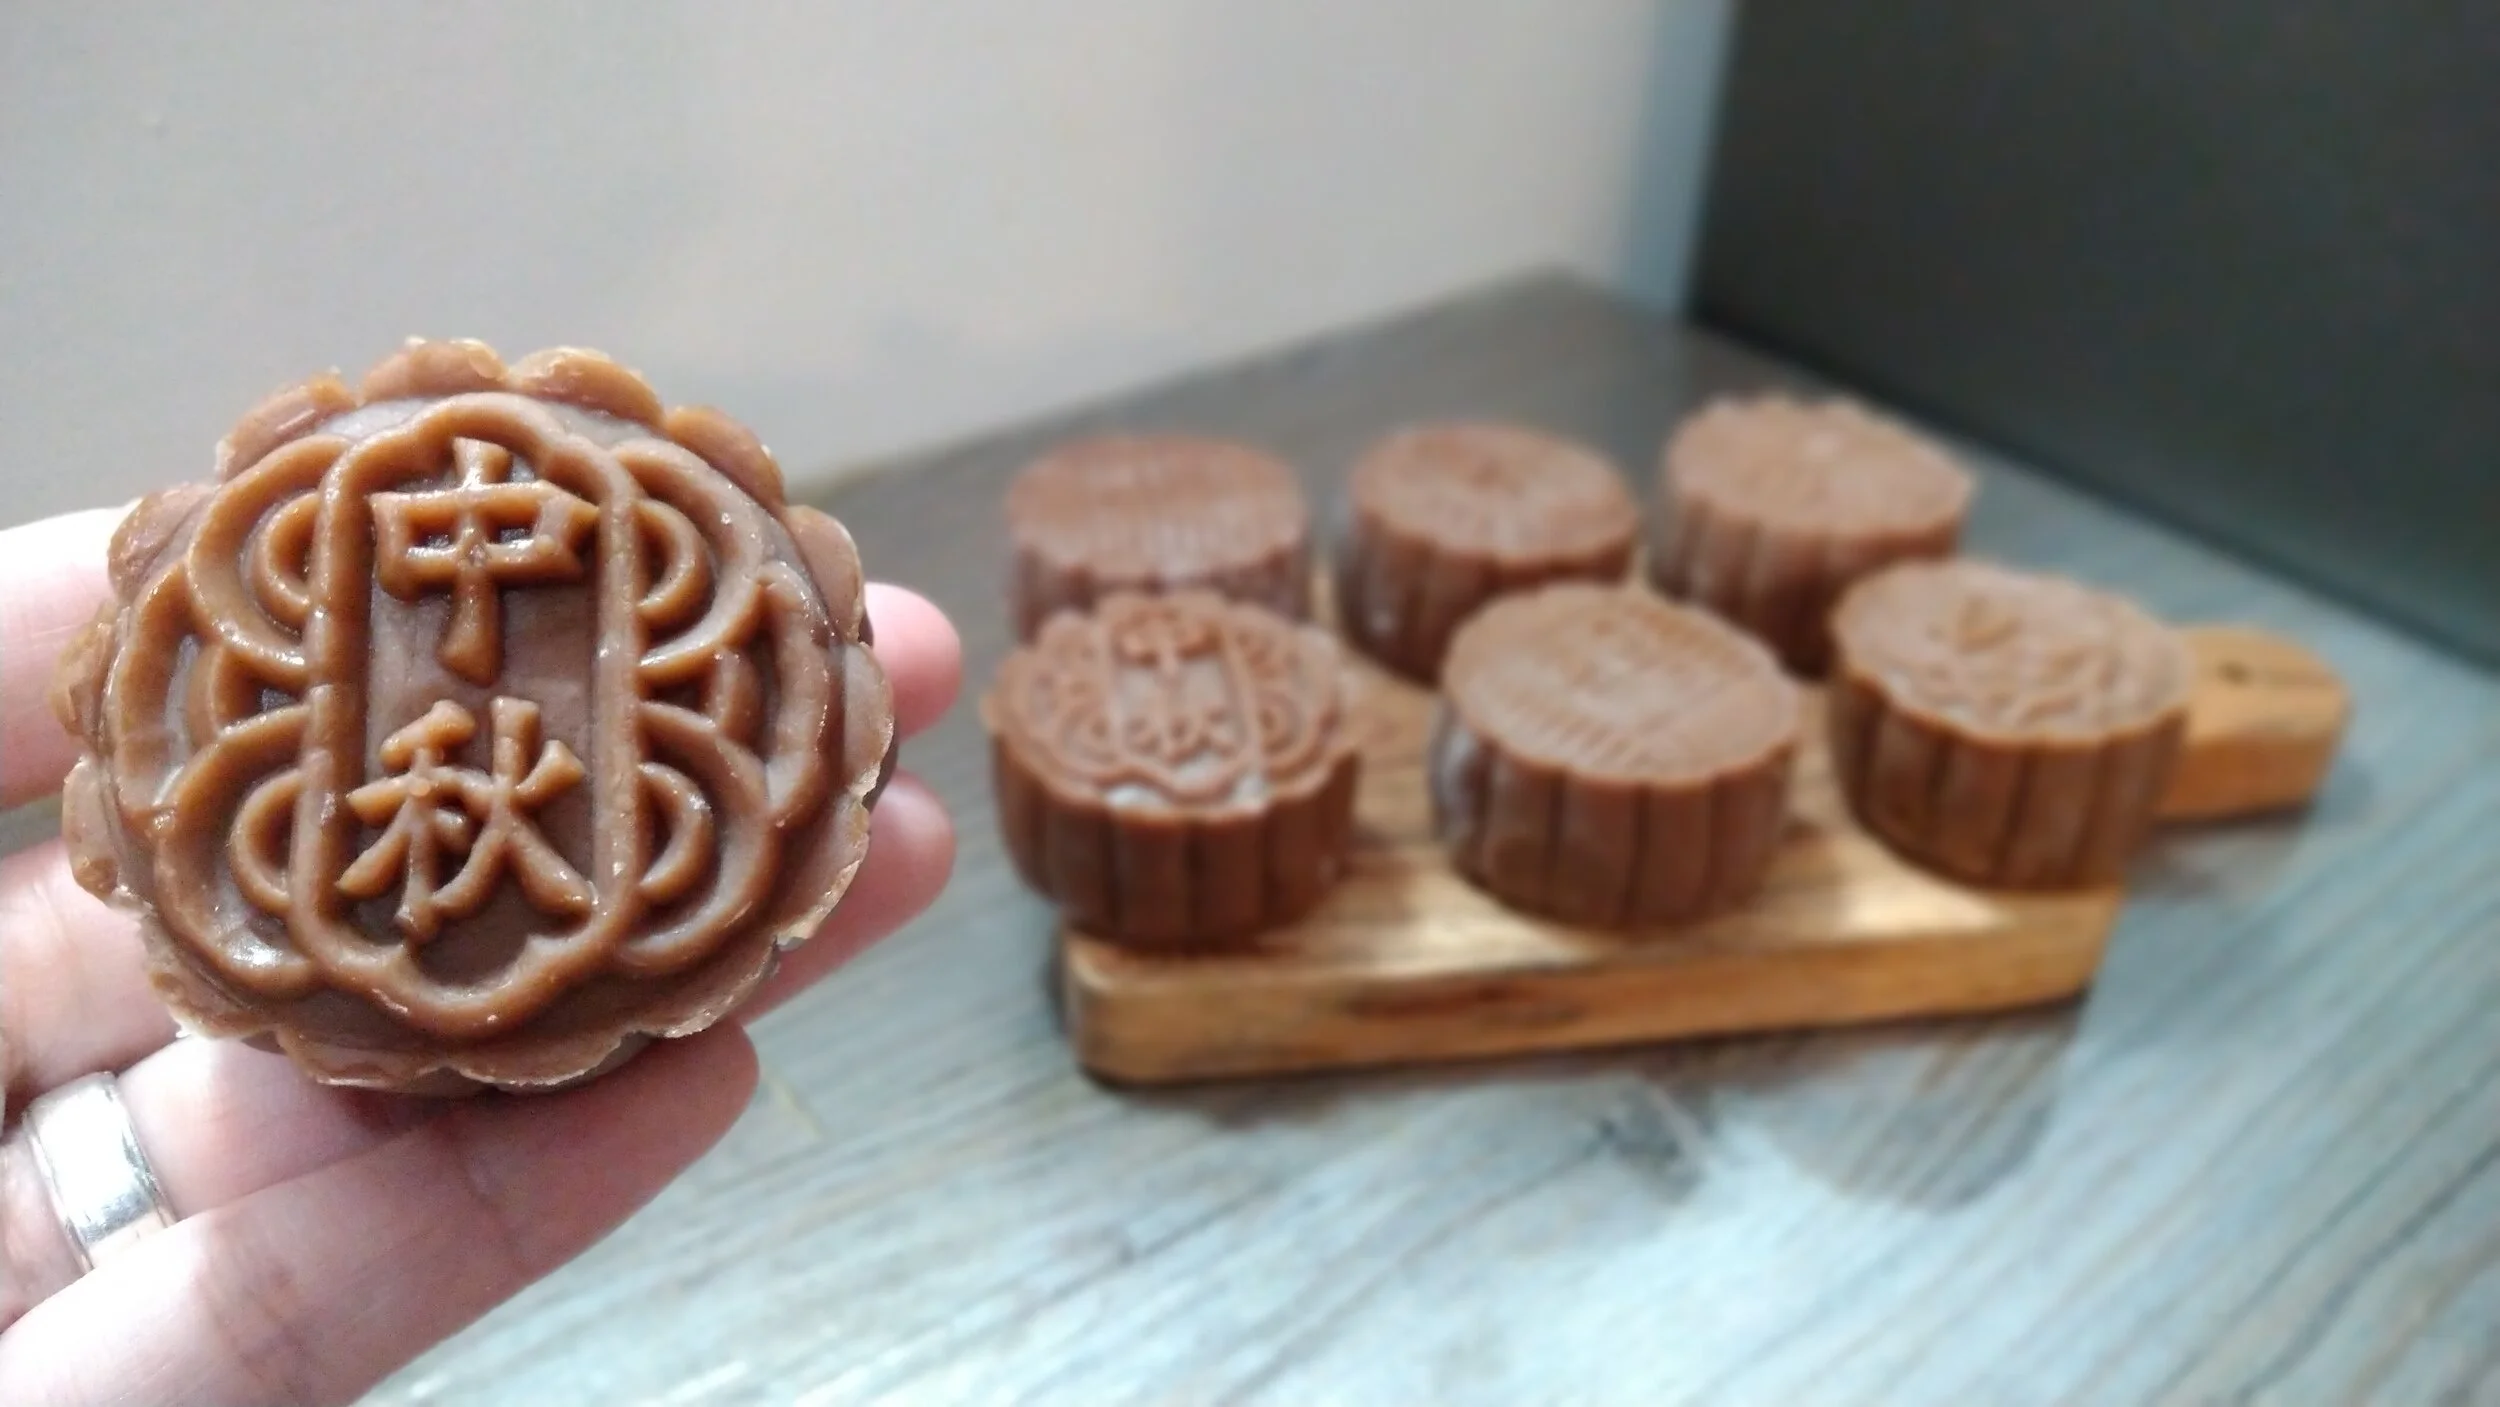
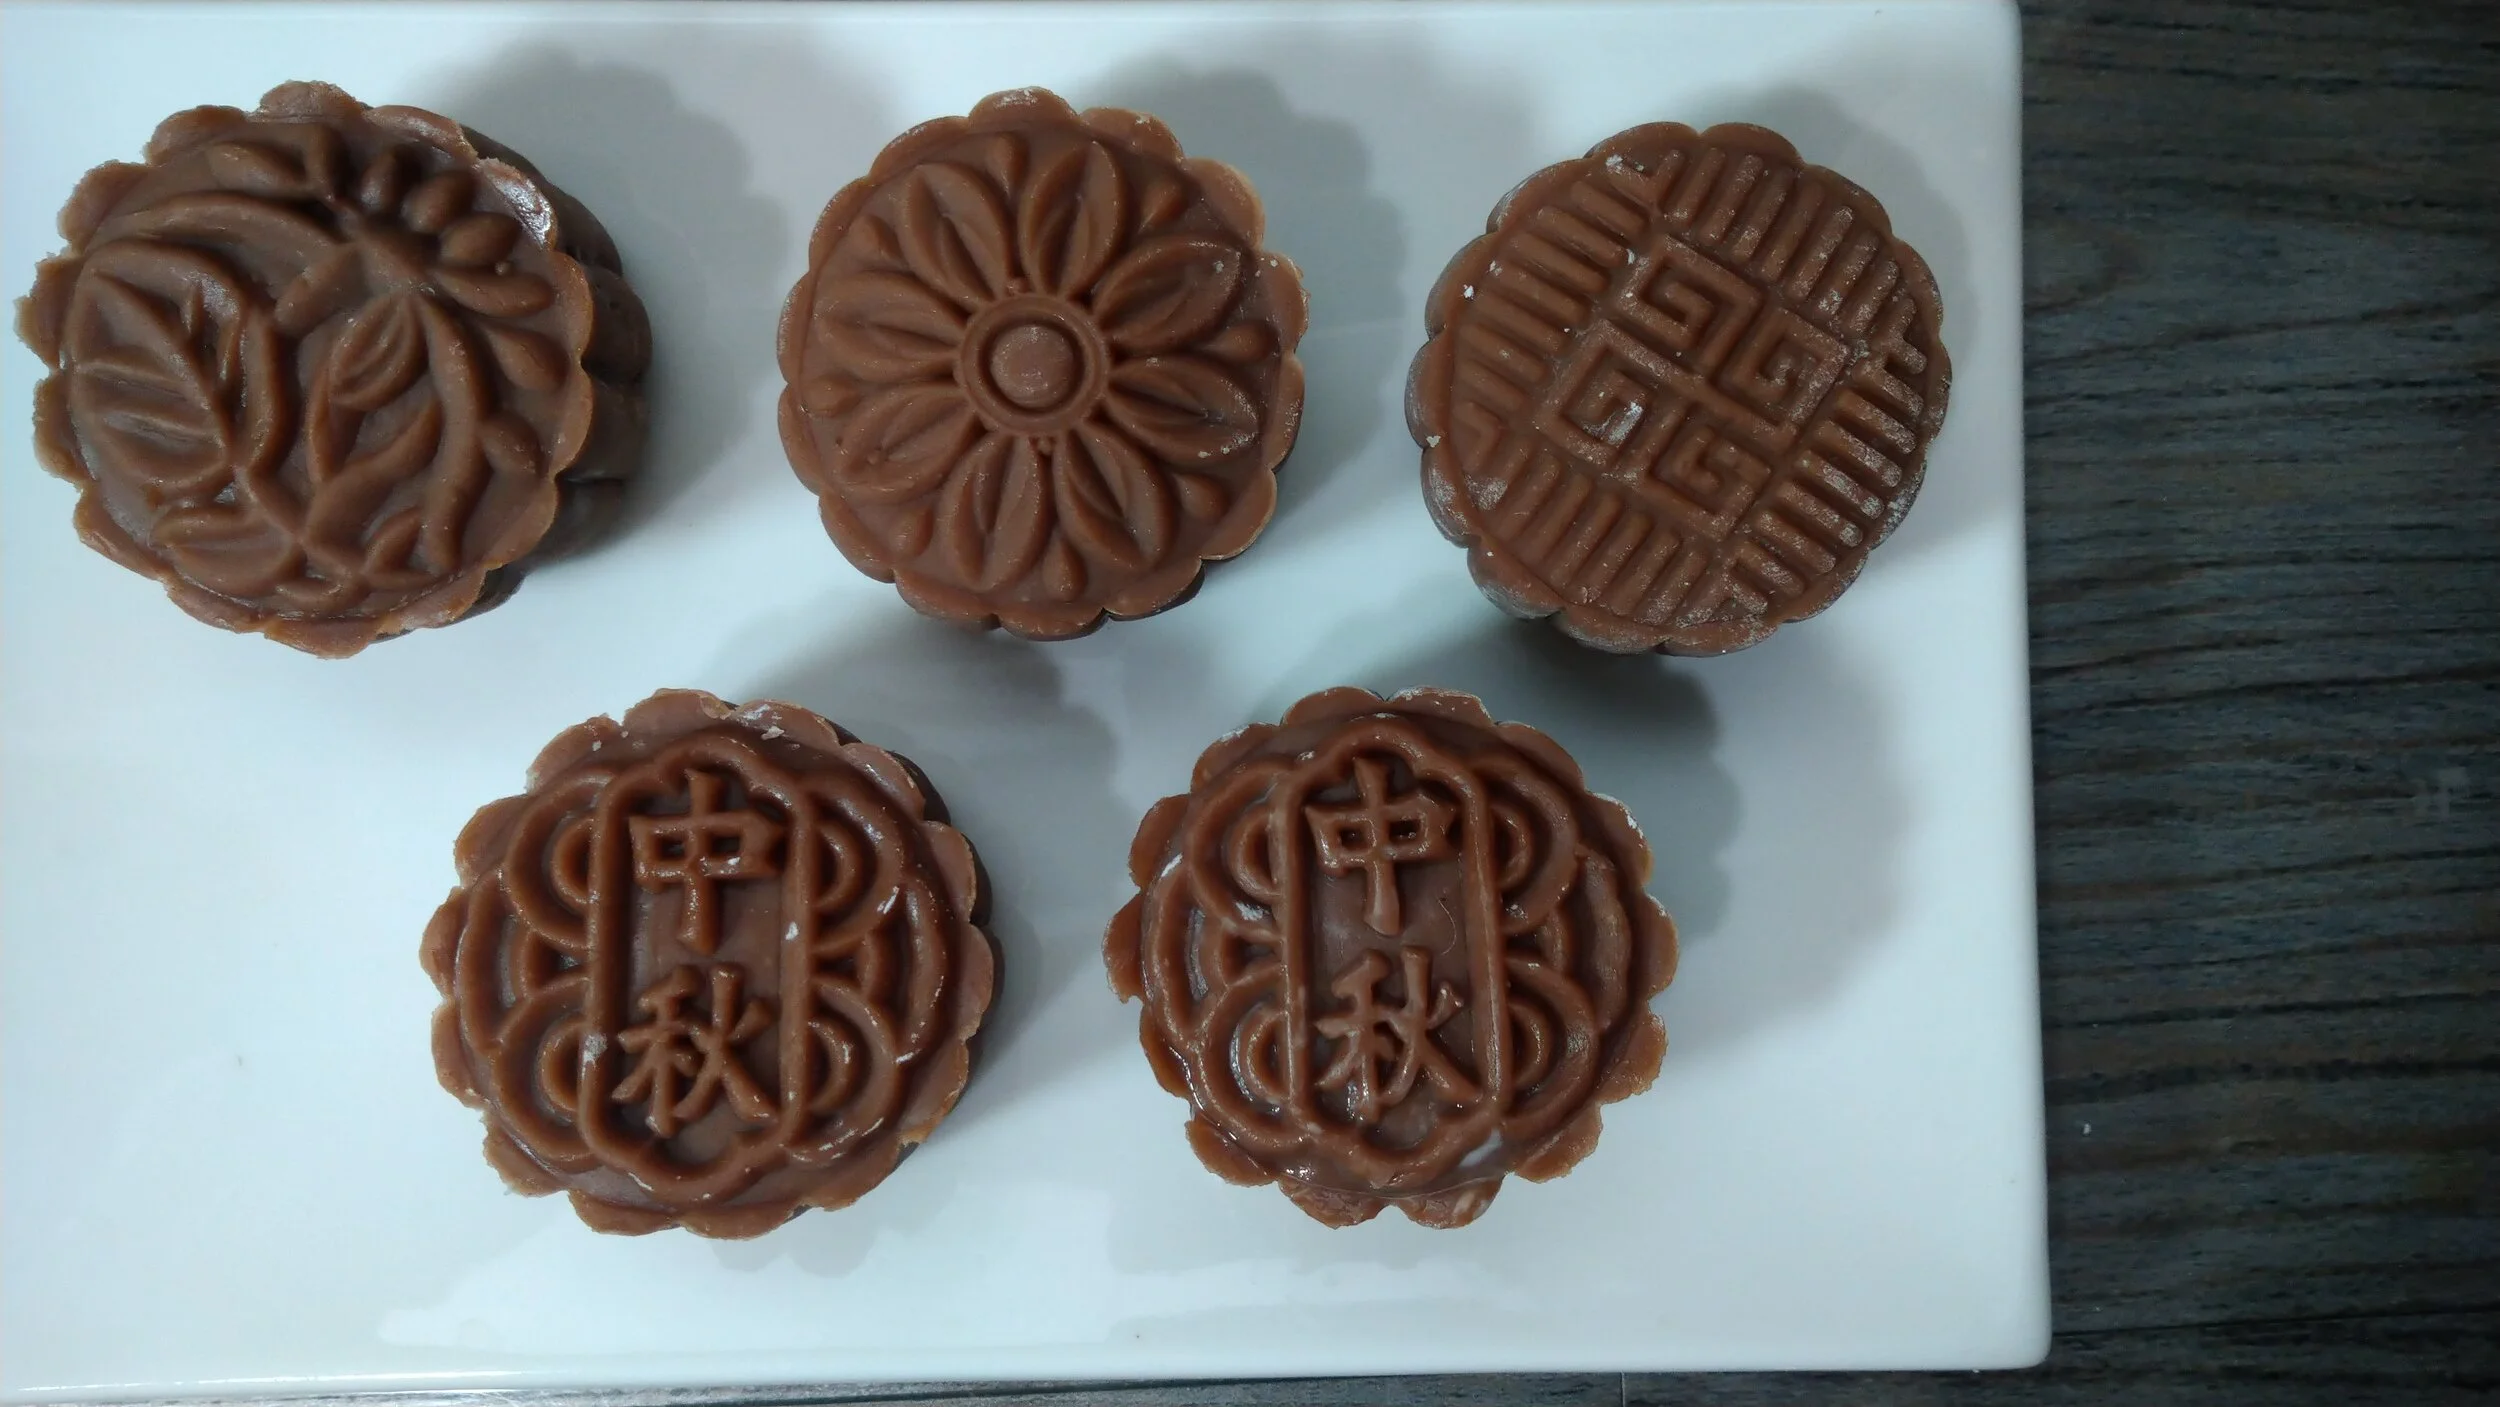


Chocolate Lava Snow Skin Mooncake | 冰皮月餅
Chocolate Lava Snow Skin Mooncake Ingredients
Chocolate Skin:
✿ 35 Grams Glutinous Rice Flour
✿ 35 Grams Rice Flour
✿ 15 Grams Wheat Starch
✿ 8 Grams Cocoa Powder
✿ 25 Grams Sugar
✿ 35 Grams Oil
✿ 70 Grams Condensed Milk
✿ 180 Milliliters Milk
Chocolate Bean Paste:
✿ 220 Grams Unsweetened White Bean Paste
✿ 50 Grams Heavy Cream
✿ 50 Grams Brown Sugar
✿ 8 Grams Cocoa Powder
✿ 35 Grams Dark Chocolate Chips
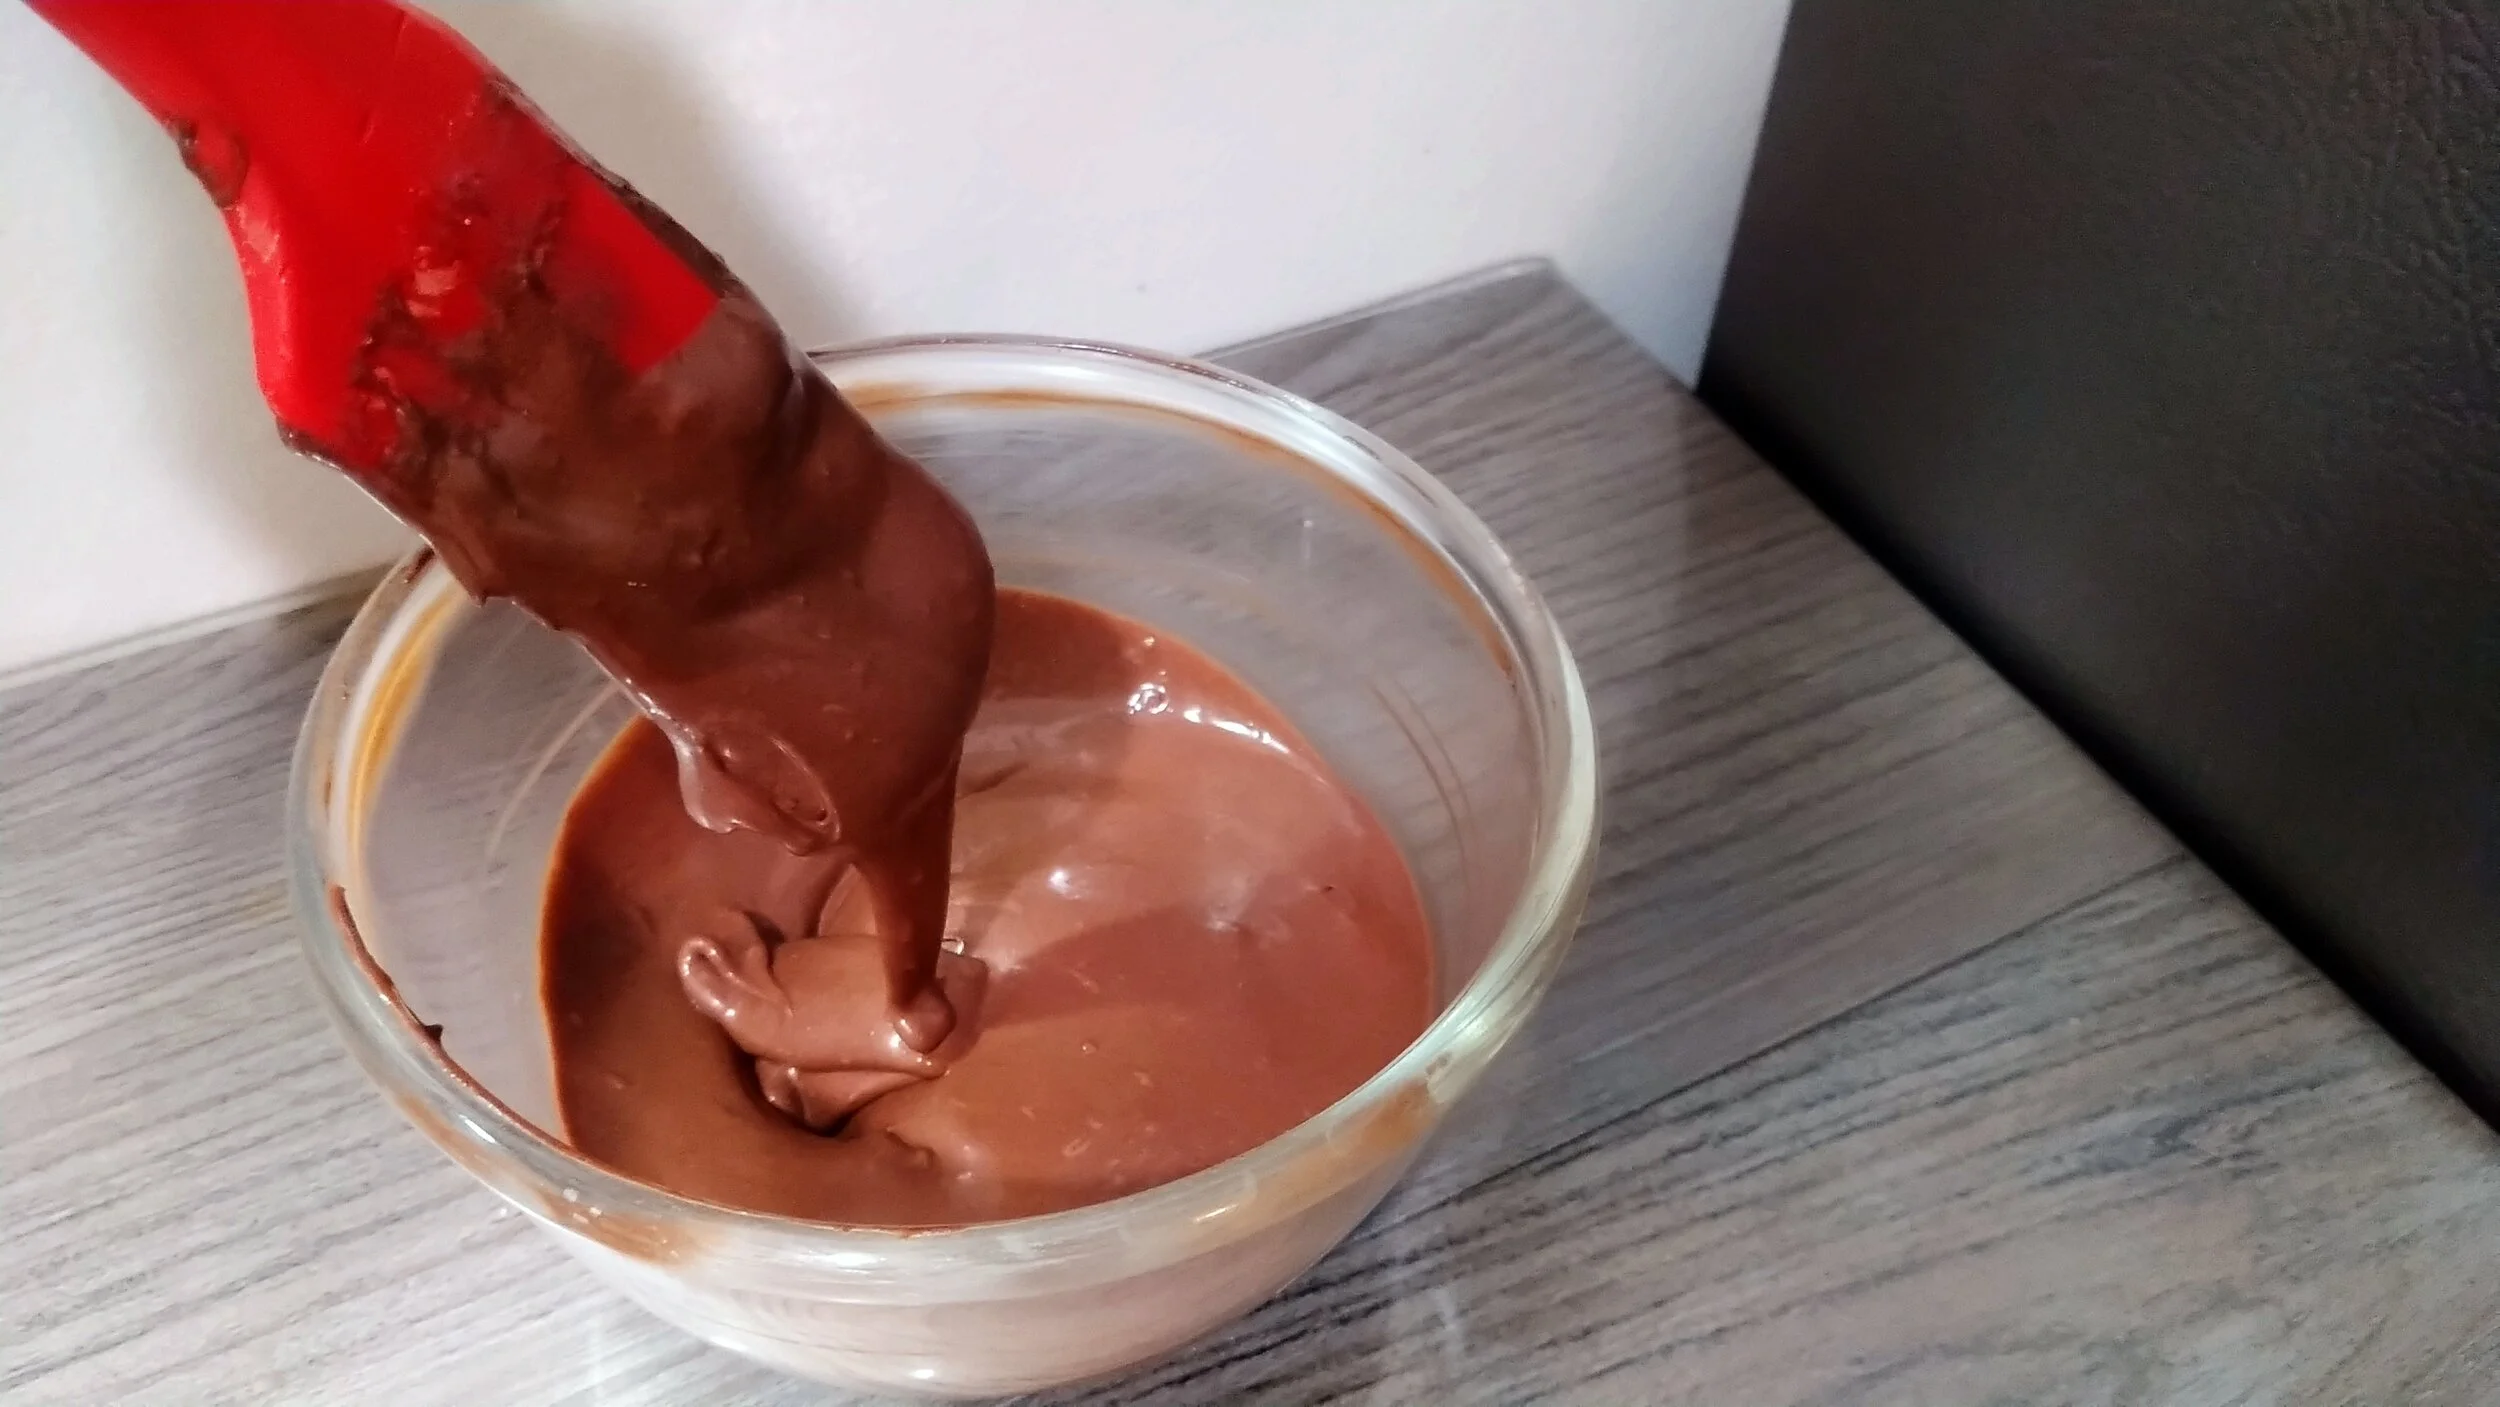
Chocolate Lava:
✿ 40 Grams Condensed Milk
✿ 30 Grams Heavy Cream
✿ 5-10 Milliliters Milk
✿ 14 Grams Cocoa Powder
✿ Cornstarch Or Potato Starch (Dusting)
Chocolate Lava Snow Skin Mooncake INSTRUCTIONS | Click here for the recipe video
Chocolate Lava
Make The Lava.
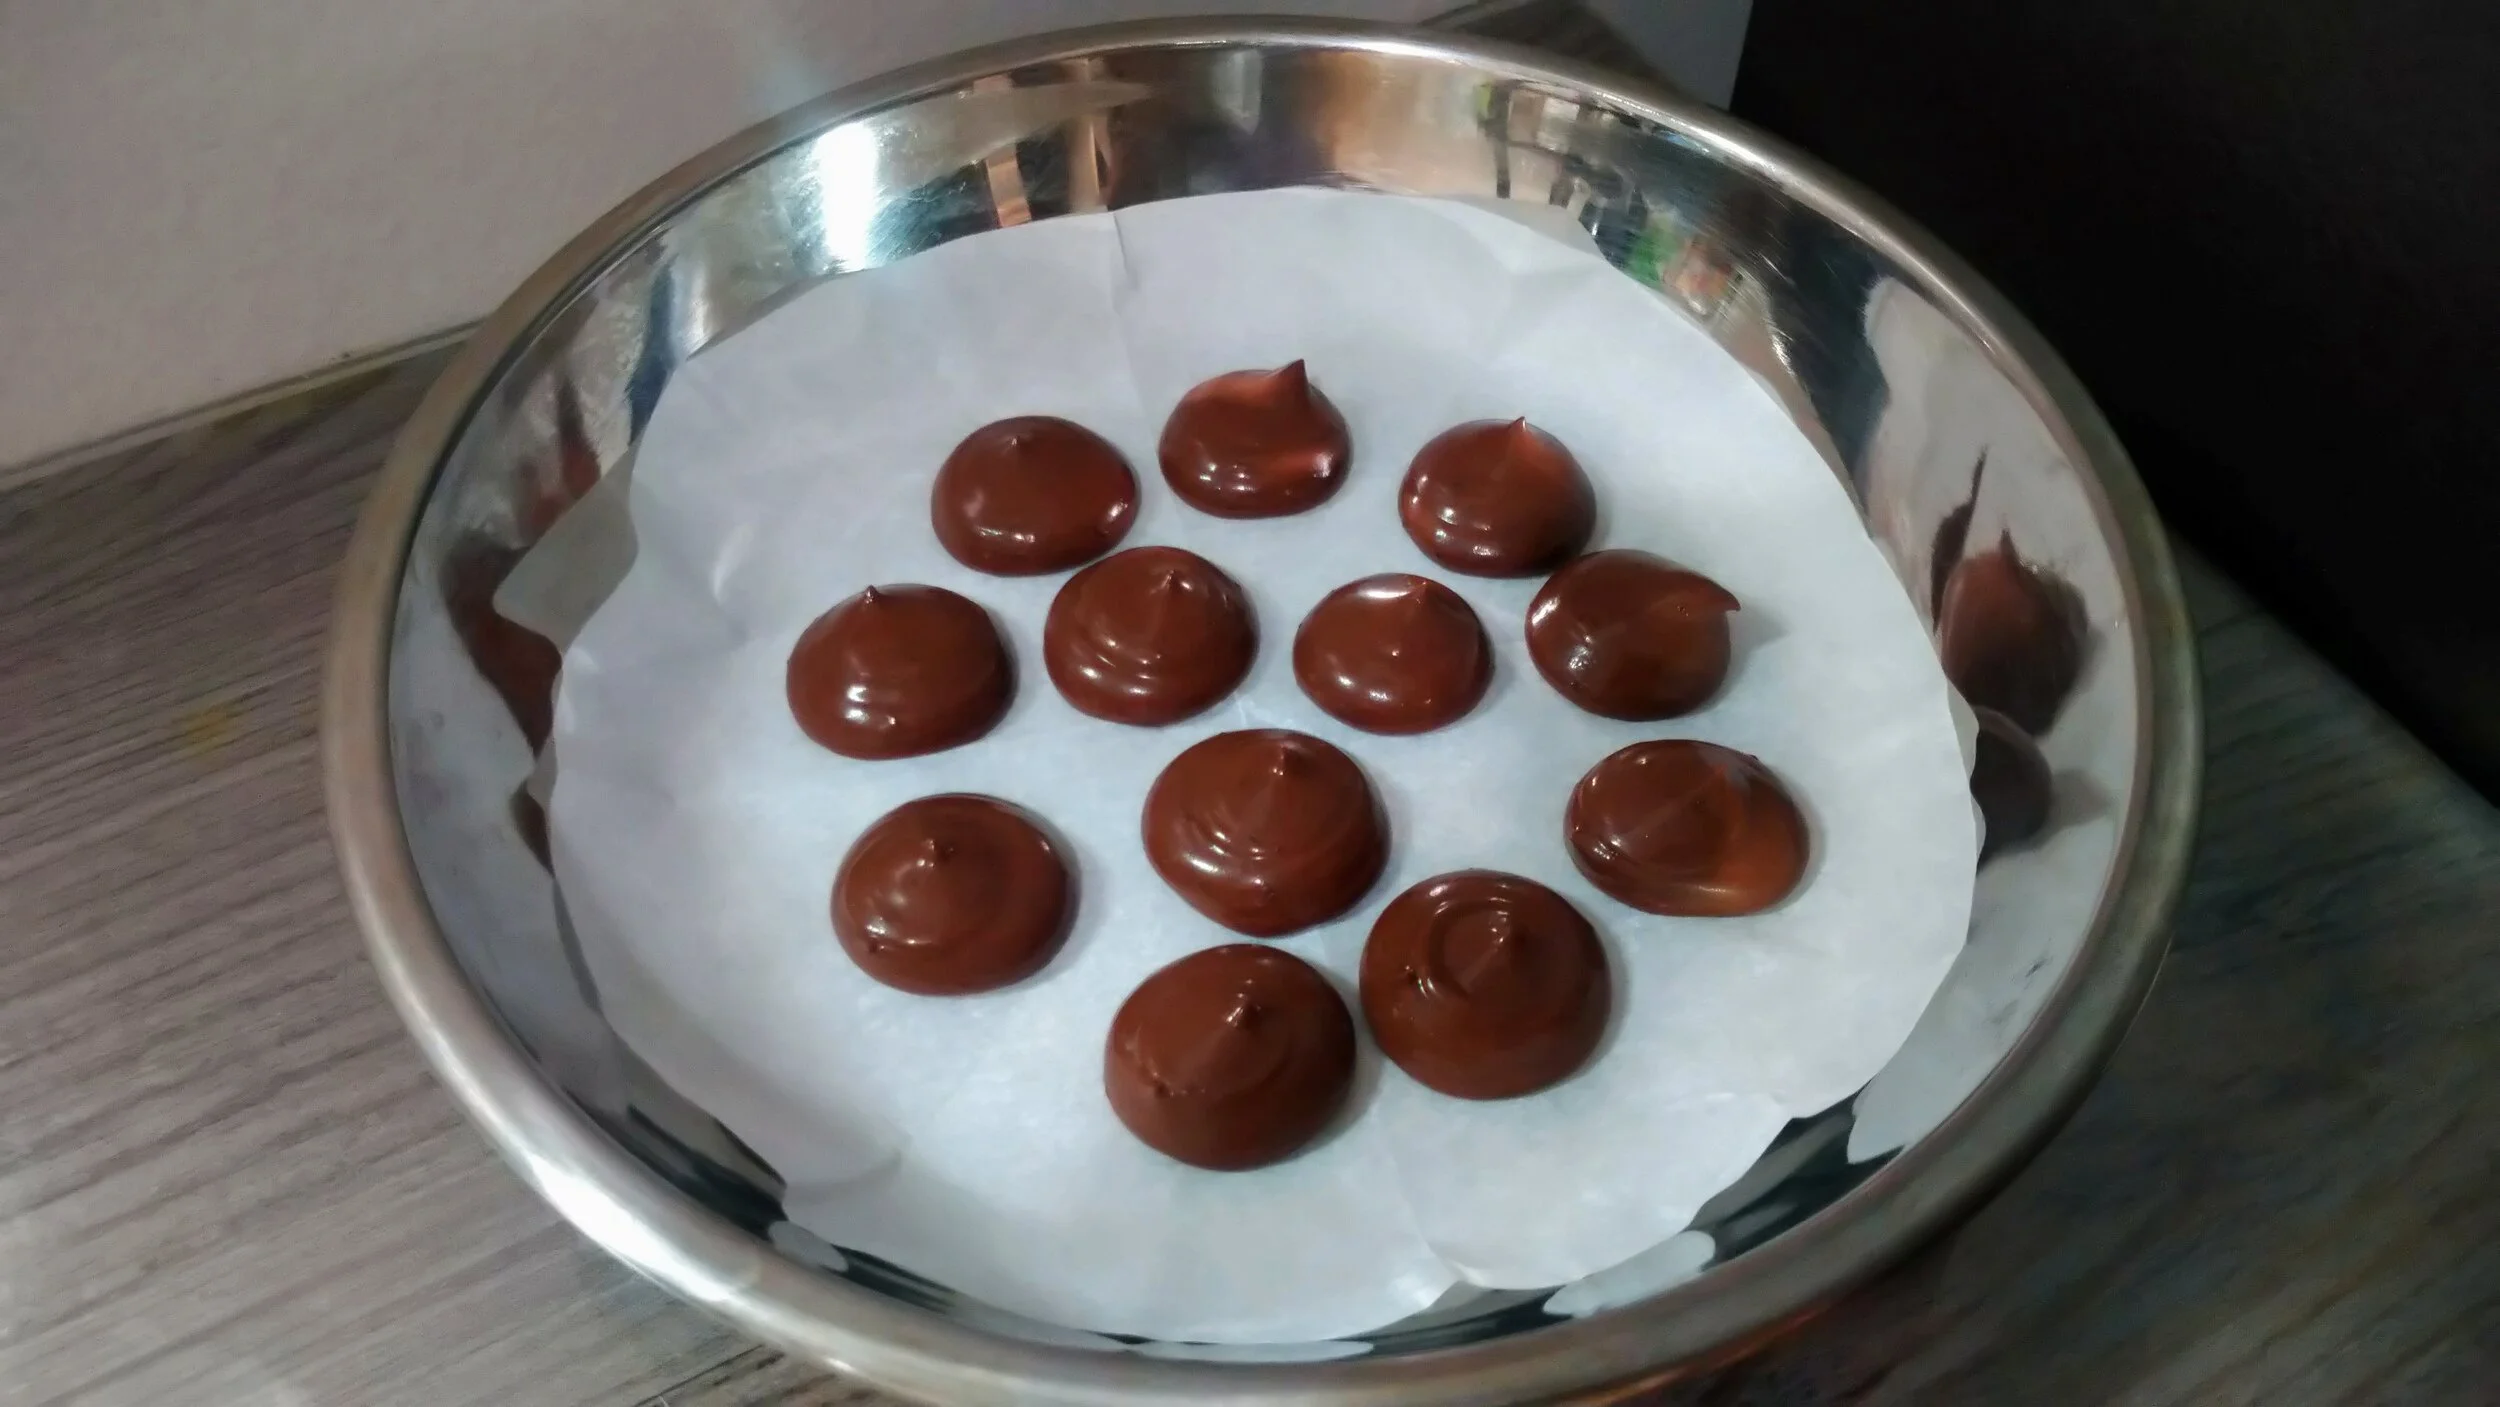
Pipe Lava
Pipe Small Lava Drops.

Chocolate Bean Paste
Cook Until Paste Forms

Cool
Cool Before Using.

Mooncake Skin
Make Mooncake Skin.

Steam
Steam 17 - 22 Minutes

Knead Dough
Knead Skin Until Stretchy.
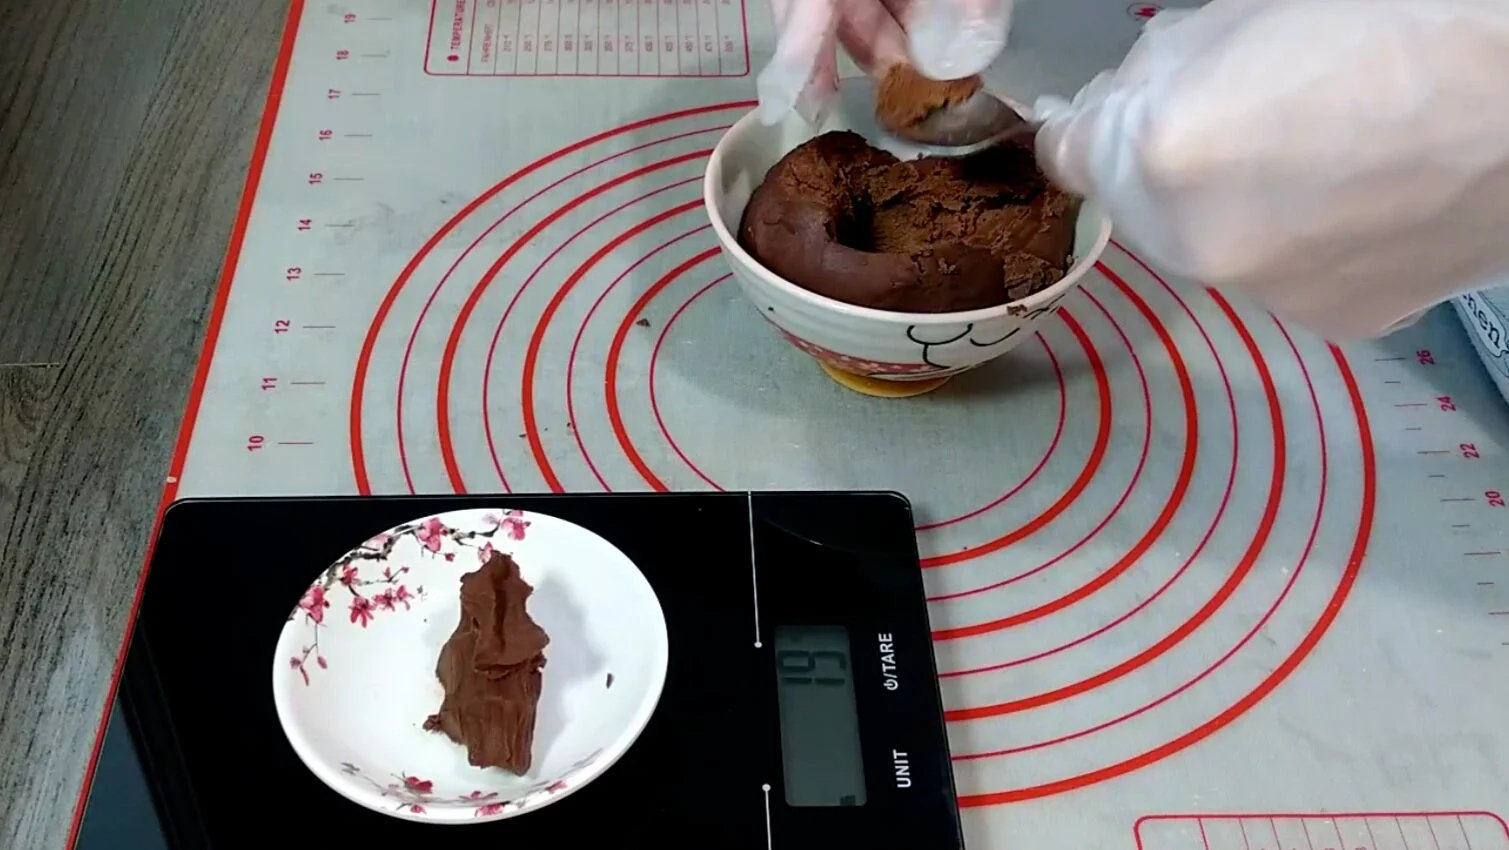
Measure
Measure Ingredients.

Prepare Filling
Wrap Lava With The Bean Paste.
Assemble
Wrap Skin Around The Filling.

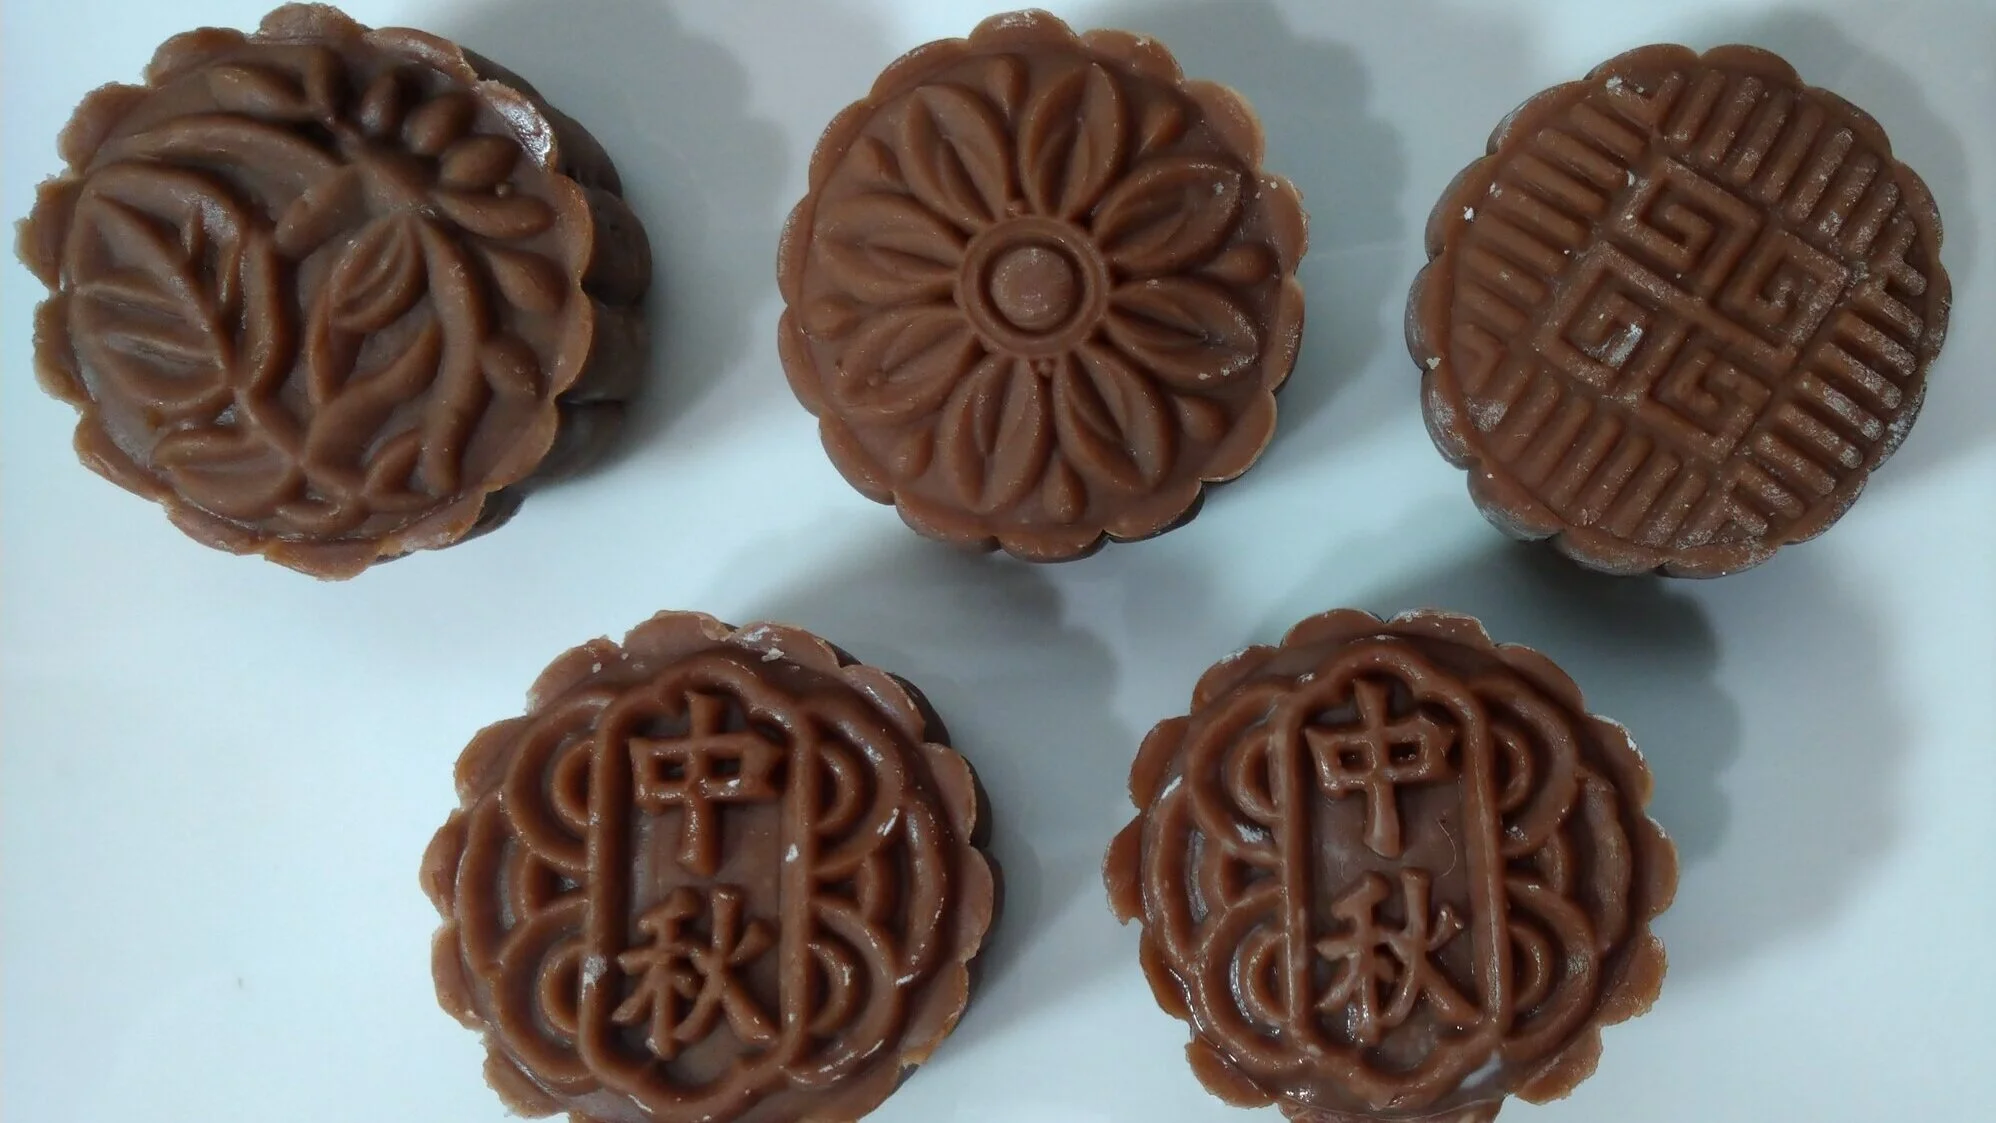
Press Mooncakes
Press The Mooncakes!
Refrigerate
Refrigerate 1 - 2 Hours
Chocolate Lava Filling - Snow Skin Mooncake 冰皮月餅
For the lava filling combine condensed milk and heavy cream. Sift in the cocoa powder. Mix until well combined.
Slowly add milk until you’ve reached a ‘lava’ consistency.
Place the ‘lava’ filling in a piping bag. On a parchment paper pipe small drops *approx. 1 teaspoon. Freeze 4 - 5 hours until hardened.
Chocolate Bean Paste - Snow Skin Mooncake 冰皮月餅
In a non stick pan add sugar and heavy cream. Cook until melted. Add unsweetened white bean paste and cook paste until thickened. Turn OFF heat when you’ve reached a paste like consistency. While heat is OFF. Mix in chocolate chips and cocoa powder until combined.
Cool down before using. *Cover top with plastic.
Chocolate Skin - Snow Skin Mooncake
冰皮月餅
Sift all the dry ingredients. Slowly pour in the wet ingredients while whisking. Strain mixture into a steamable bowl.
Steam on high heat for 20 - 25 minutes.
Mix the dough with a spatula until slightly cold. Start kneading with your hands when it’s cool enough to handle.
Knead until oil is incorporated and a smooth and stretchy dough forms. Place in a ziplock bag and refrigerate for 1 hour.
If using 50 grams mooncake molds.
Measure:
20 grams chocolate bean paste for each mooncake.
25 Grams chocolate skin for each mooncake
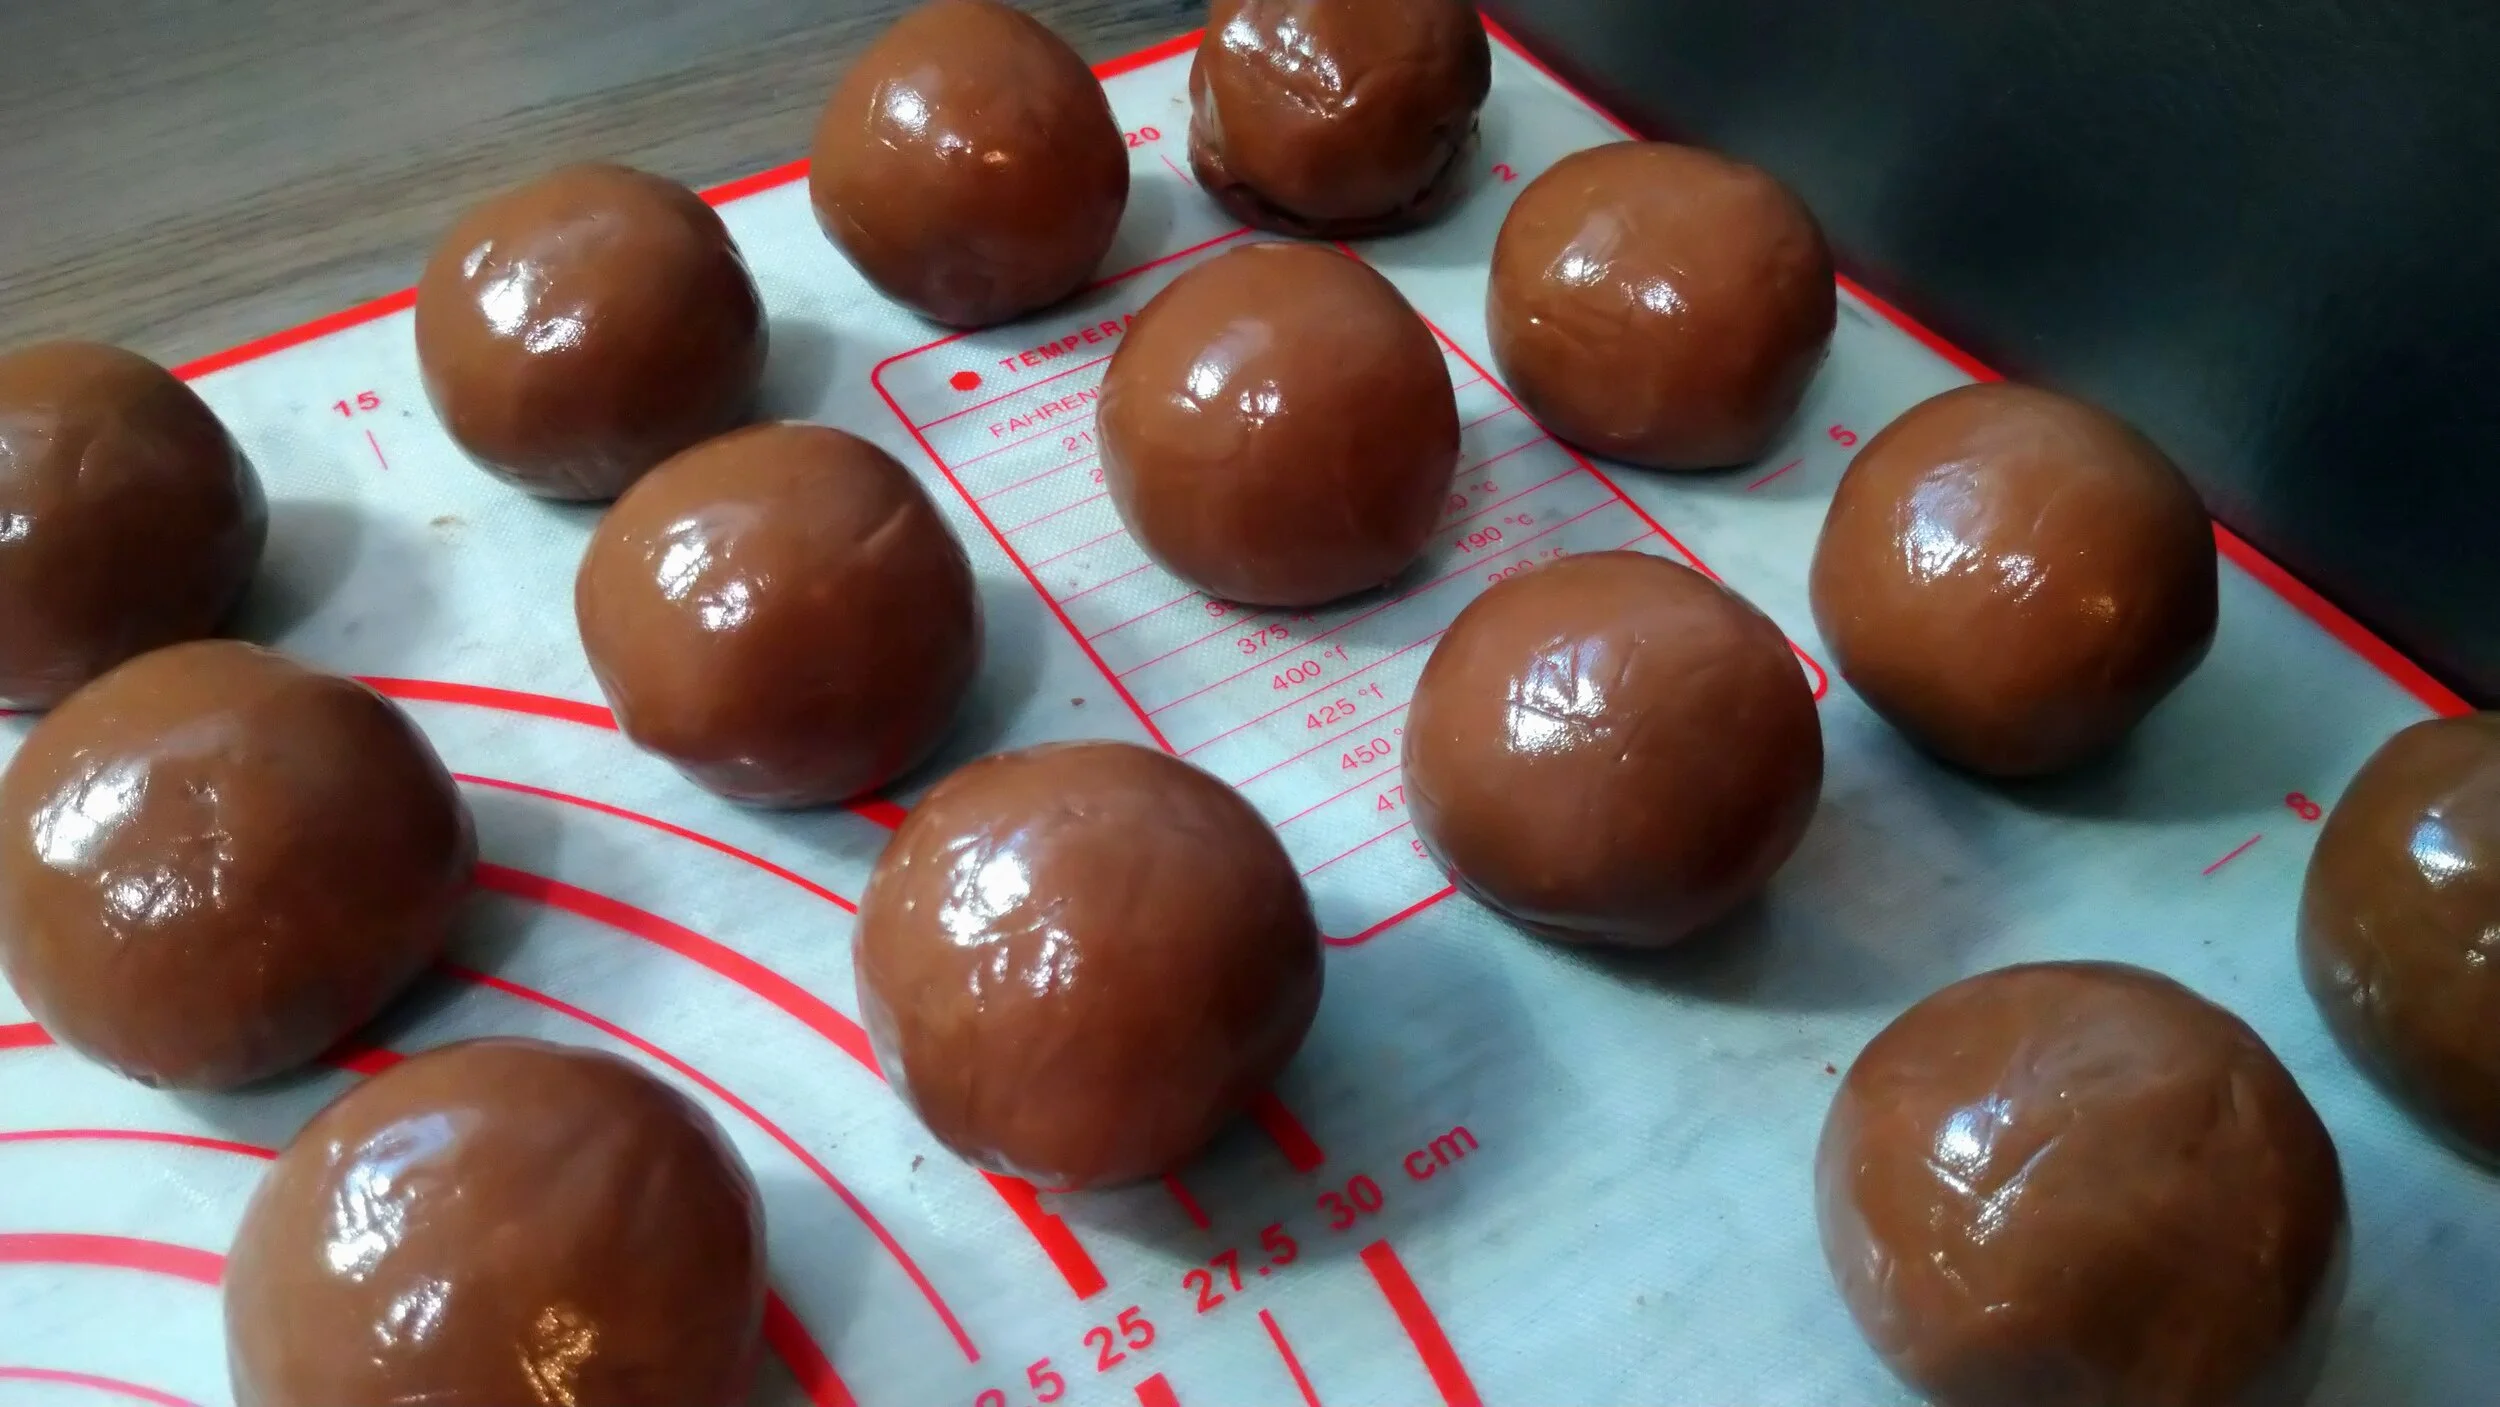
Roll each bean paste into balls. Make a hole inside the bean paste and place a chocolate lava inside. Wrap the bean paste around the lava and roll it into a ball.
Roll mooncake skin into a ball and flatten it in a circle. Wrap the skin around the filling and shape it into a ball again.
Dust mooncake mold with cornstarch. Coat mooncake with a little cornstarch. Roll in a ball and shape it into an oval.
Time to press the mooncake!
Refrigerate 1 -2 hours before consuming!
TIPS & NOTES
✿ Use gloves when kneading the mooncake skin. Or else it will be really sticky.
✿ The ‘Lava’ will soften quick out of the freezer. Work quick or leave half of the lava inside the freezer when assembling the filling.
✿ You can make all the ingredients ahead and make it the next day. (◕‿◕✿)
✿ Store in the fridge in an airtight container for 1 week or freeze the snow skin mooncake for up to 3 months.
✿ When ready to consume take out of the fridge/freezer and let it come to room temperature to soften.

Did you make this recipe?
If you made this recipe make a picture and hastag #PYsKitchen or Tag me @PYS.kitchen. I would love to see your creations on instagram! ✿◕ ‿ ◕✿
Click here for the printable recipe! (Coming Soon)
More Mooncake Recipes!


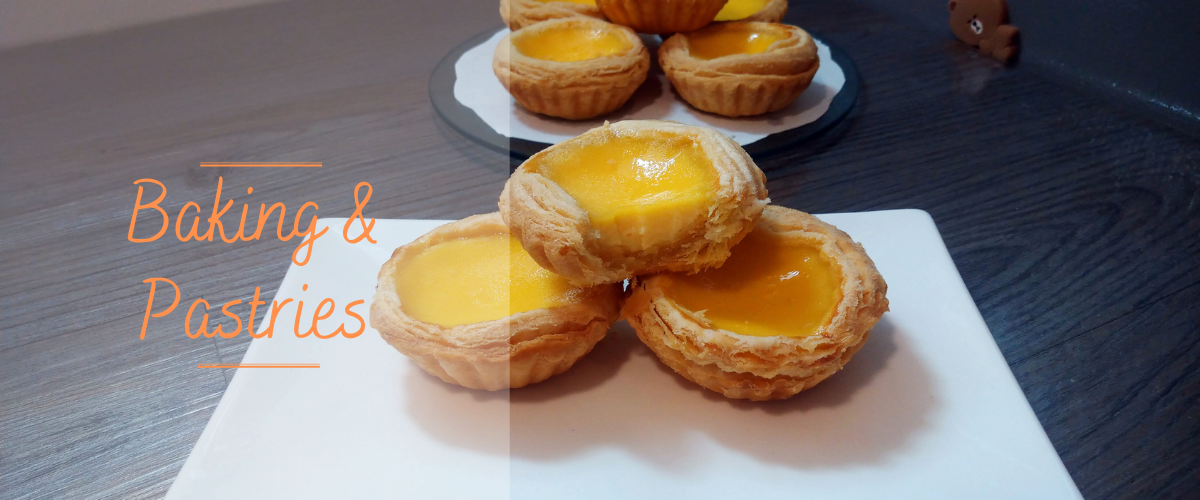
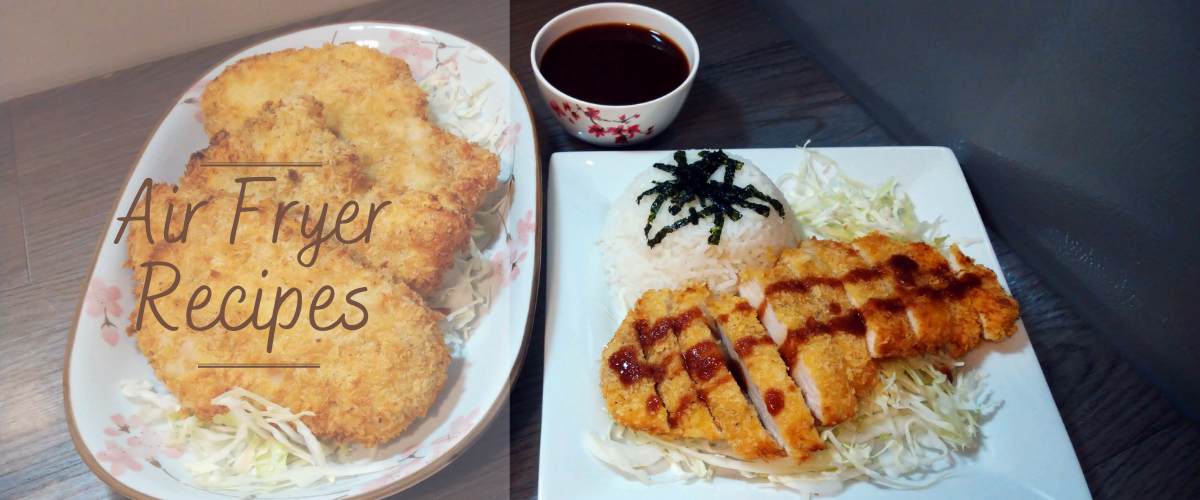
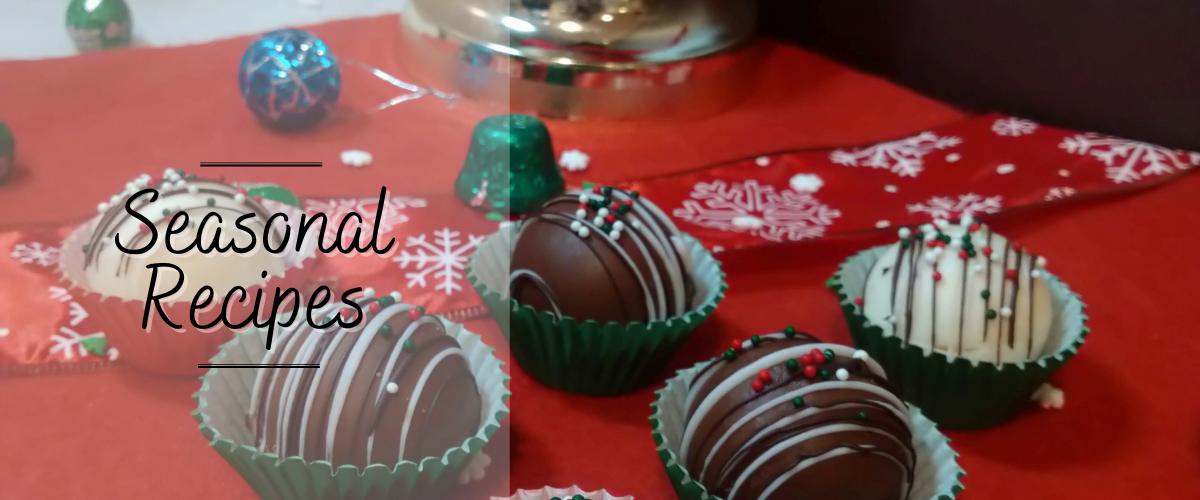
Popular Topics

Find me here!

AFFILIATEs For This Recipes


** DISCLAIMER: PY’s Kitchen’s website uses affiliate links. Amazon Affiliate links do not cost extra but do help support the website by providing a small commission on qualifying purchases that allows me to keep producing more content! (◠‿◠✿) PY’s Kitchen does not provide the products and does not guarantee the quality of the products. These links are provided to assist in obtaining similar items used by PY’s Kitchen during the filming process. Buyers purchase at their own discretion. Thank you for your support!
(づ。◕‿‿◕。)づ